A friend of my oldest son wanted a neck warmer after he saw the very simple quickie one I made for my son. THAT was TWO years ago when they were in kindergarten. I FINALLY made it today....

Started out by making a cone template for the 'spikes'.

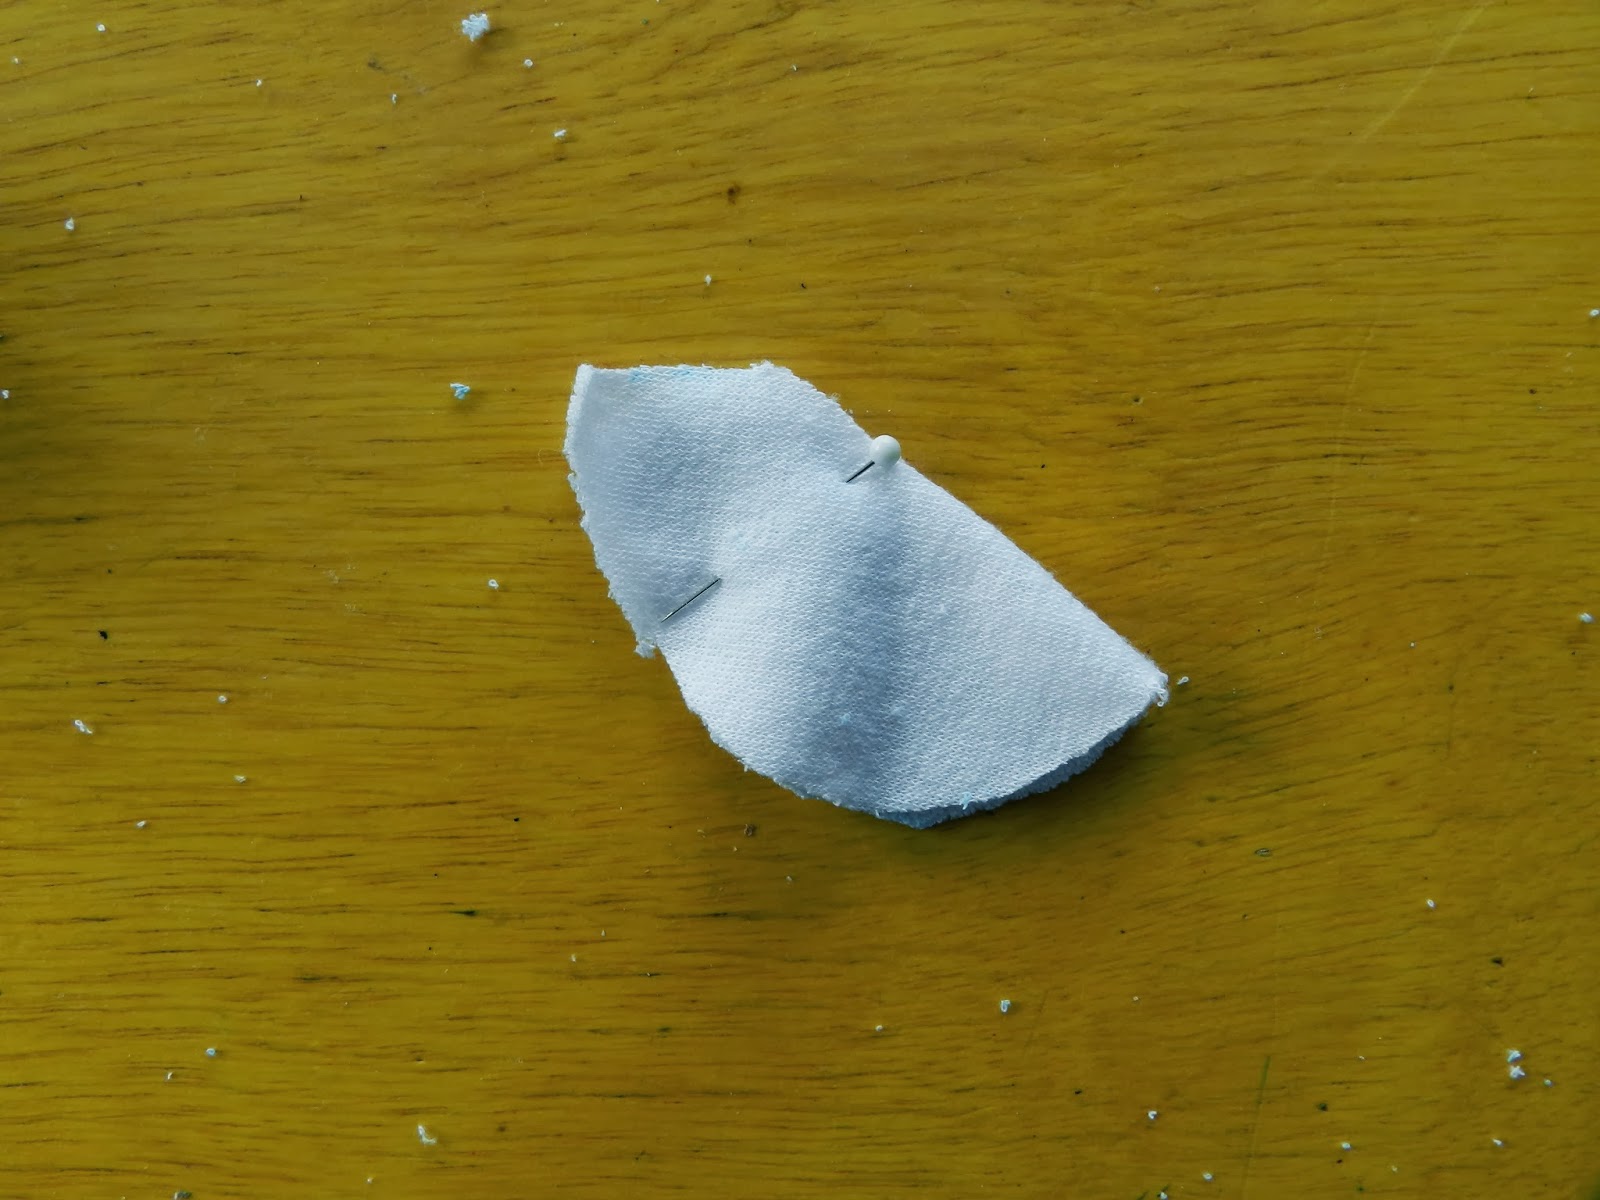
Traced it onto a white terry cloth type fabric and cut out six at a time (I know I'm a rebel), but ended up using only 3.


You have to play around with this bit, I ended up lobbing off quite a bit of fabric to make them nearer the final size. Here I placed the pin to imitate a seam in order to gauge the end result (by turning it over, not shown)


Ready to sew (along line set by pin) RS together.
Gratuitous shot of my sexy Necchi :)

I sewed the 'spikes' one after the other without clipping each afterwards. I find this goes faster and saves thread.

Unfortunately I don't have pics of next step, 'cause when you're winging it, well, you're winging it. I cut out circles of the same fabric from the initial 'spike' template in order to make 'bottoms' for the 'spikes'. I figured it woud be much easier at this point to add a bottom in order to sew the 'spikes' to the main fabric.
Sewing the bottoms RS together, leaving a small gap in order to turn it RS out.

Just like sewing a sleeve to a bodice. Around and around you go...

Stuffed the 'spike' with a little stuffing and hand sewed the gap. The 'spikes' are pretty round but not entirely. It's okay though I'll fix that up when I sew the 'spikes' to the main fabric.

Set the 'spikes' on the main fabric spaced out evenly (or pretty close) at this point my boys are almost done school and I have to speed up :S
Main fabric is 22 inches by 8 inches. It's a size that works well for my boys, 8 yrs old and 6 yrs old. It is a stretch fabric so will go over head easily even if it's a little smaller. My boys heads are 22 inches in circumference approximately.
So you just hand sew these little 'spikes' to main fabric being careful not to allow for any puckering of the main fabric.

To assemble the pieces, I thought it much easier to diagram it out. This is one method that I call the lazy-girl method. The better method would probably be to sew smaller ends of main fabric together, smaller ends of secondary fabric together, insert main fabric tube into secondary fabric tube RS facing and sew along long sides leaving a small gap near the small side hem (or back if you prefer) to turn neck warmer RS out. Hand sew gap or overstitch both long sides 1/4 inch from sides.

P.S. Before the last step, I overstitched 1/4 inch from sides on both long sides.
P.P.S. After you turn in the hem at last step, clip off excess fabric. I forgot to mention it in the diagram and I almost forgot to do it in real life... Actually I did, but ripped up stitch and redid, there was just too much...
And TADA ! A 'studded' neck warmer for a little boy :)

This project took about 2 hours total, start to finish.
No comments:
Post a Comment